There’s nothing like getting a full time job to slash the productivity on a hobby project. The things we do for money!
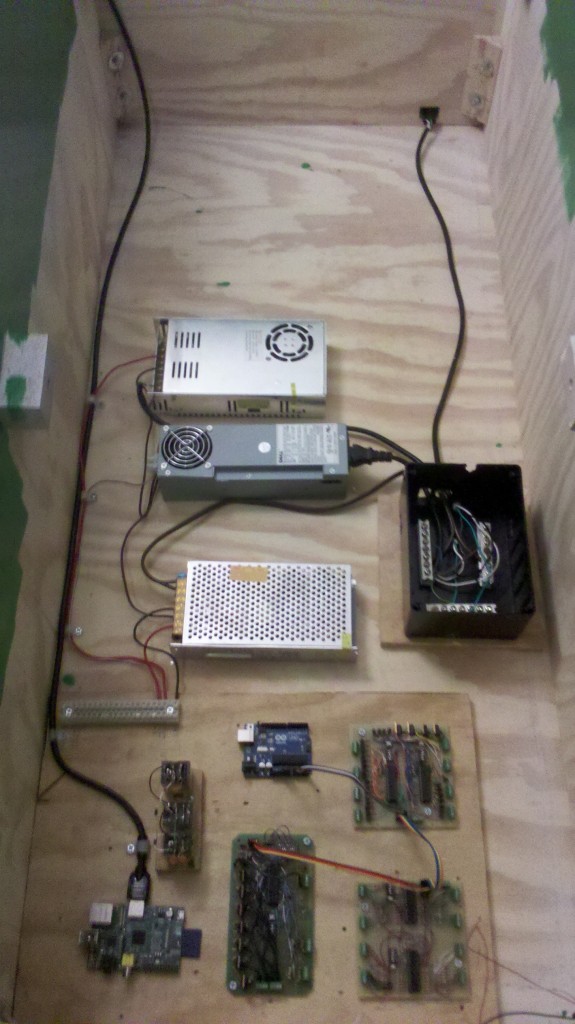
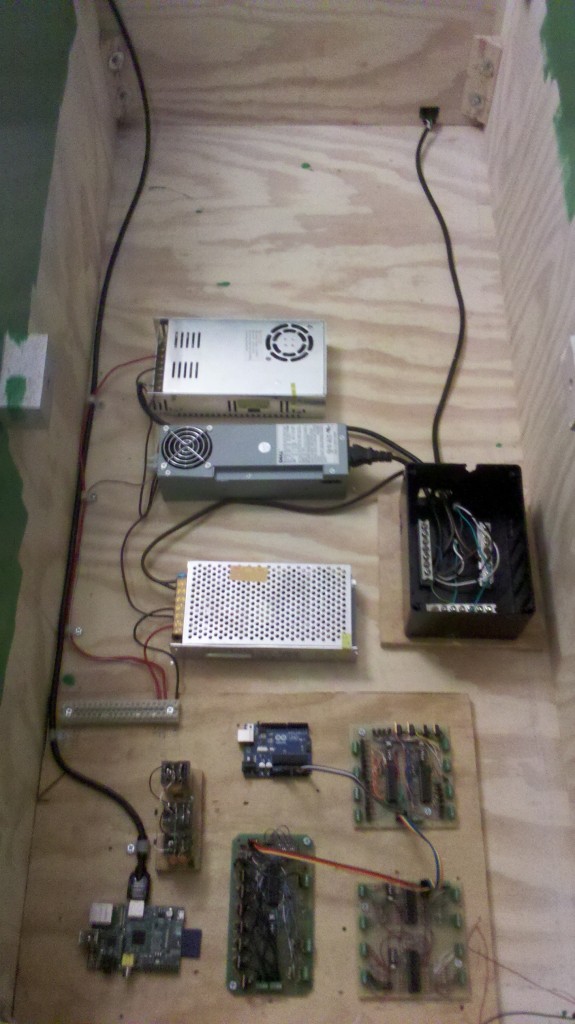
Meanwhile, I finally broke down and decided to completely re-wire the cabinet. Not the playfield mind you, just the cabinet. Pictures earlier in my blog demonstrate how messy it was, but now it’s looking something like this: (If you’ll pardon the poor phone pictures.)
All the circuit boards are nicely laid out so that I can run the playfield’s twisted pair to them in an orderly fashion. All of the AC is now in a plastic project box, distributed through some terminal blocks. I can eventually put a cover on that, and then I would have no HVAC out in the open. Maybe someday I’ll install fuses or breakers or something. 😛
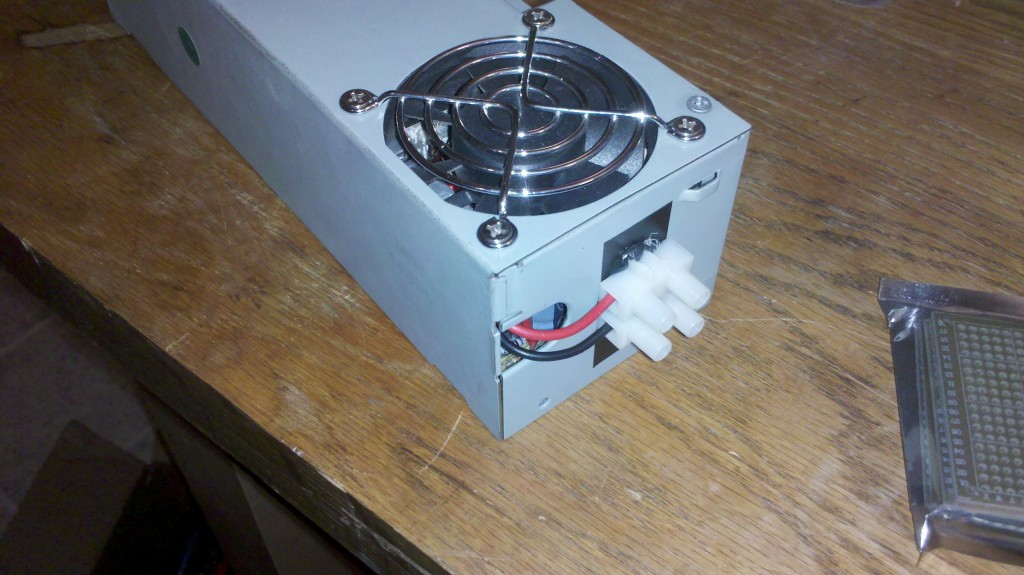
I modded an oddly shaped computer PSU to be locked into always-on, and I brought the 5v connections out to terminal blocks mounted on the front.
Magic tip: If you ever want to hot-glue to metal, put down a nicely cut piece of electrical tape first.
This means that all the voltages in the pinball machine come from stable, high-current, solid-state switching power supplies.
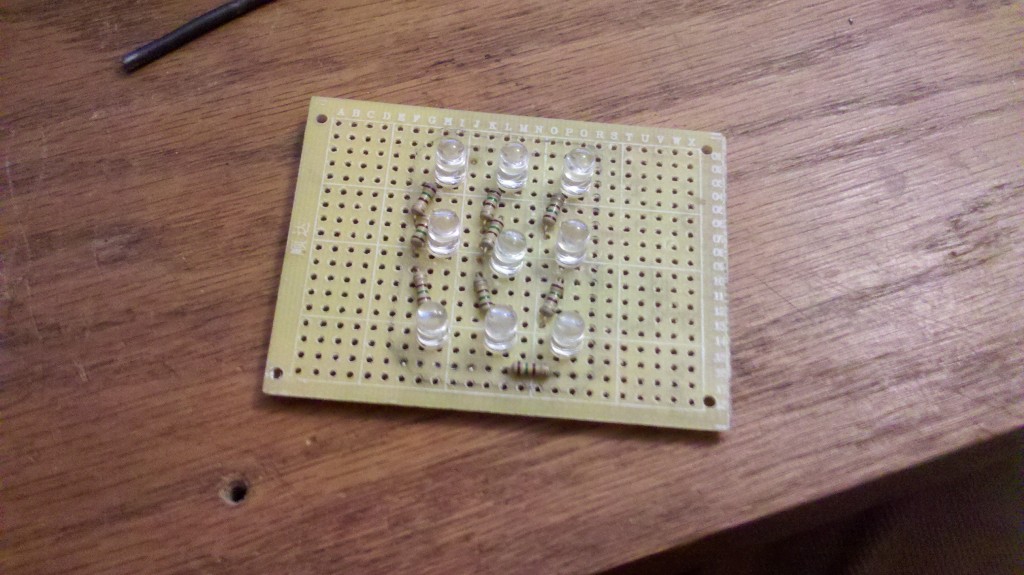
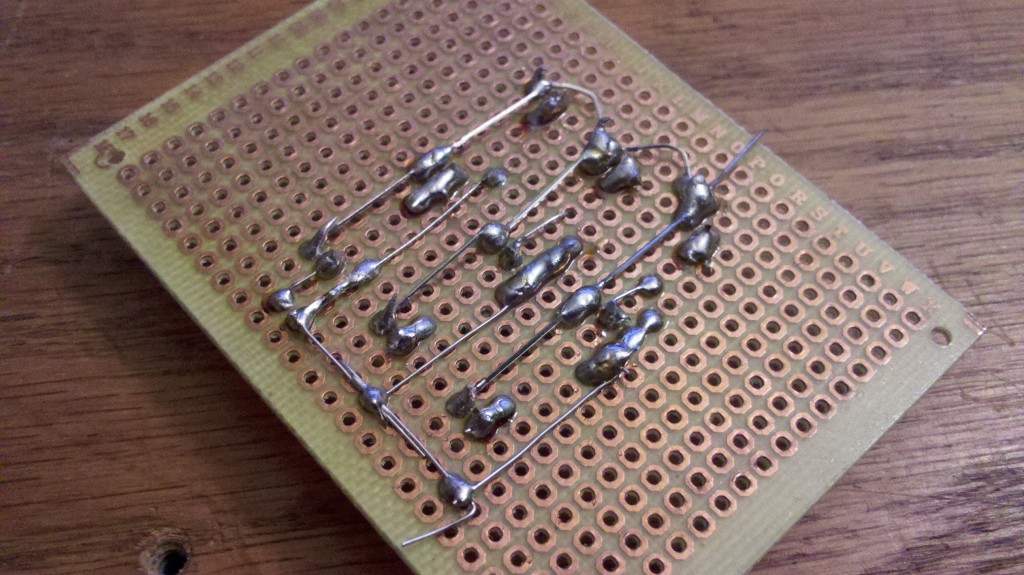
I have made several LED panels with built-in resistors, to light up certain areas of the playfield from underneath. Everything in this is a 5v circuit, so for simplicity of wiring and math, I’ve gone with the philosophy that every LED gets it’s own resistor. They’re 3.2v LEDs, so two in series don’t really light very well.
I have mastered the science (it’s not art!) of using only leads from the components to wire these LED circuits. If you can make sense of the above soldering job, you are amazing. But it works! =D
I picked up 20 of these cheapo circuit boards from China on eBay for ~$6.
Next on the list is to write a ton of Arduino code, and wire in the playfield! Hopefully before too long, we’ll have a blink’n, kick’n, rock’n pinball machine! =D
And there’s no better way to end a post then with a picture of our kitty:
