What happens when a poor man wants to get into FPV? Awesome stuff, that’s what.
FPV (First Person View) is a method of flying radio controlled aircraft in which a camera and live video feed is connected to the plane, and it is flown from the perspective of a miniature pilot inside the airplane. Google it. There’s lots of videos and information about it.
But in order to do this, it’s nice to have a head-mounted display. That’s exactly what I set out to build. Obviously, it isn’t as slim and streamline as many professional goggles, but my design had one main advantage point: It cost me $8 to build. I’m not even kidding. The parts list went like this:
- 1 TFT LCD Composite-capable display. (Which I had in a junk bin.)
- 1 Sheet of black Dollar Tree foam board. (About $1)
- 1 Wearable magnifying glass headset thingy. (About $7 on eBay.)
I’ve seen other people on Instructables and such build FPV headsets like this, but I think mine is unique in that it uses lenses like this that are meant for focusing up close. These aren’t fresnel lenses, and they’re designed to help your eyes.
So, here’s the basic build process.
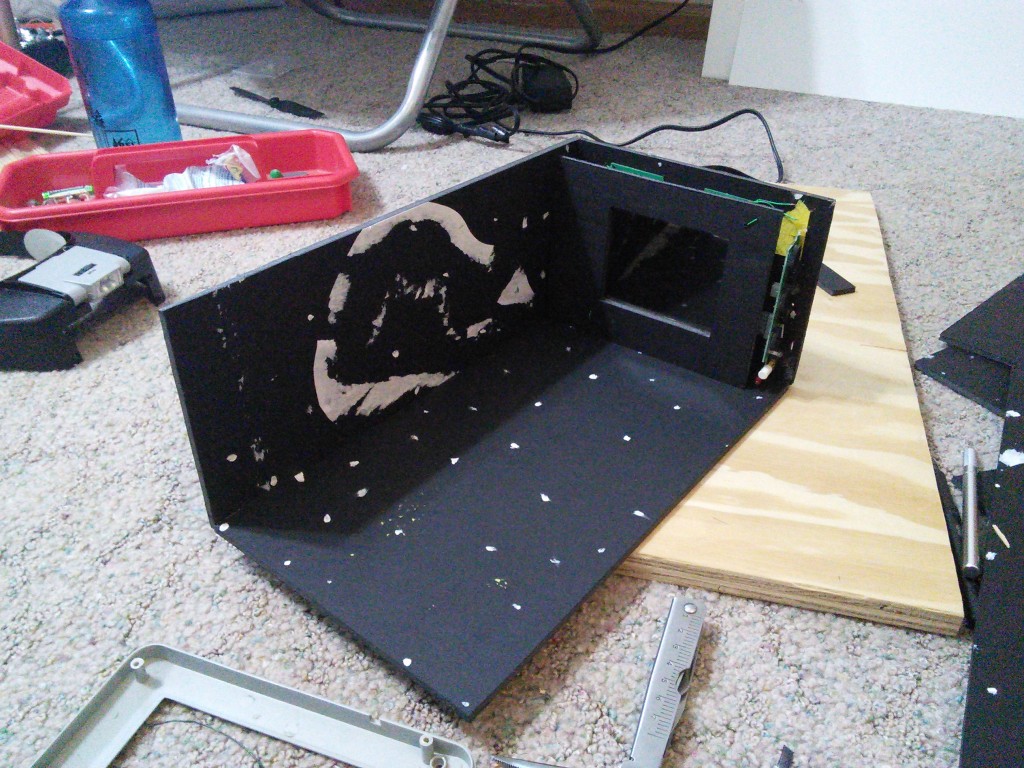
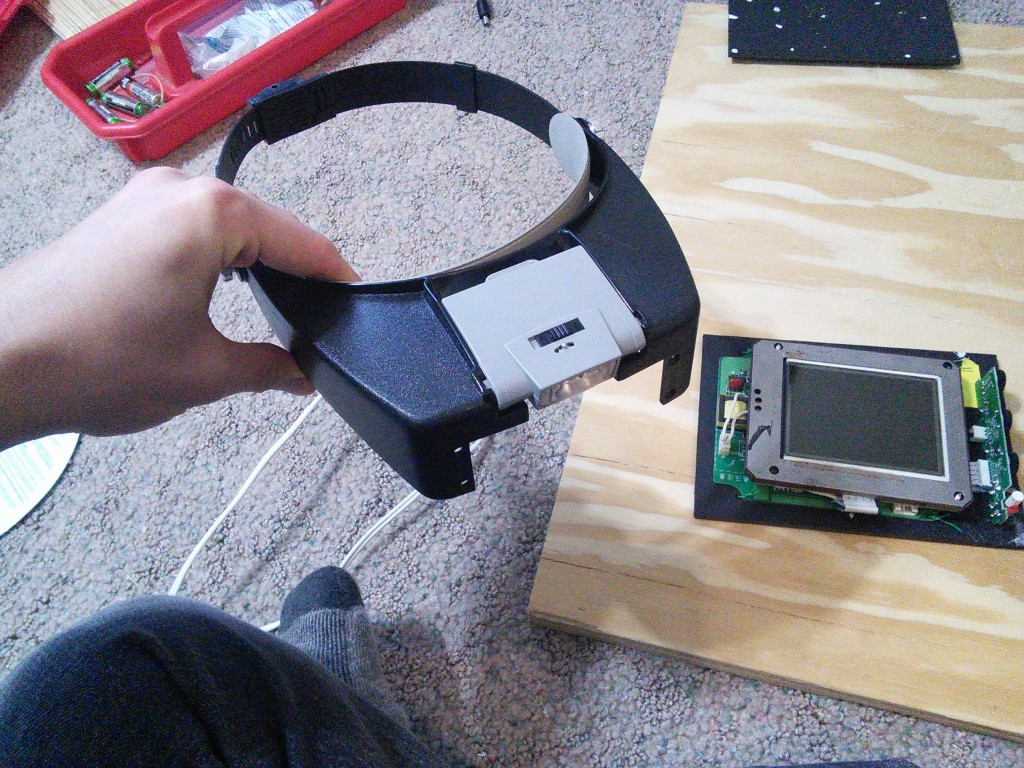 I began by removing the lense from the magnifying headset. I also mounted the LCD and driver board to the foam board I had cut out.
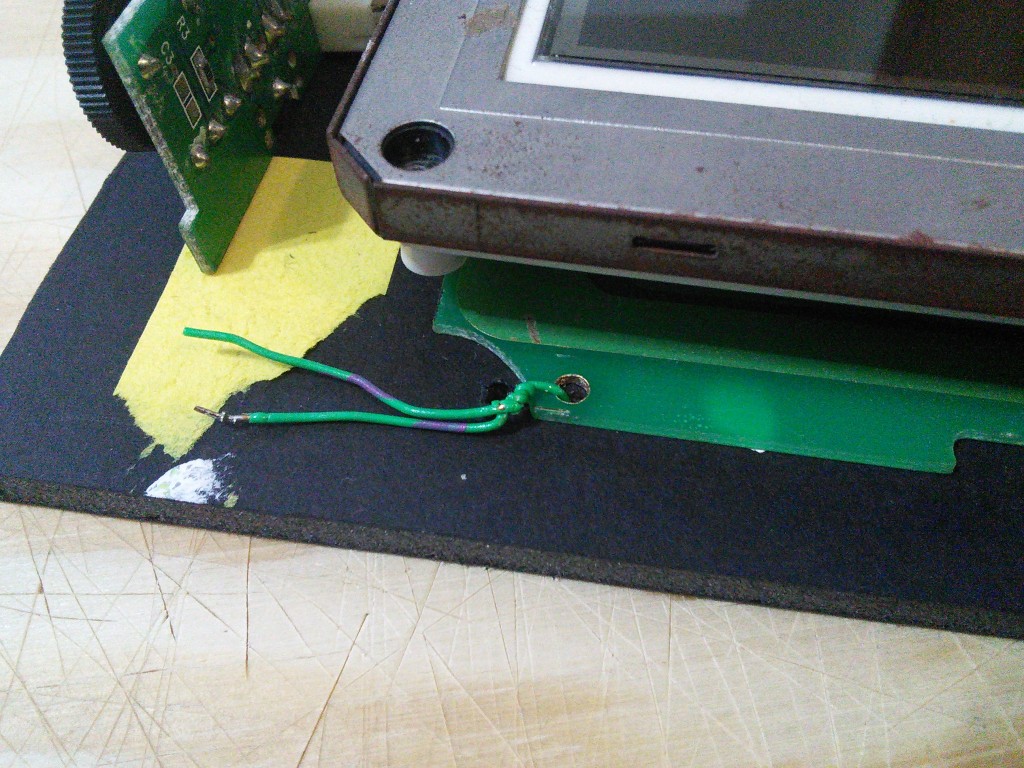 Here’s handy trick I developed several years back for holding circuit boards to cardboard or foam board. Just use a bit of telephone wire and twist it together tightly with a pair of plyers. Works like a charm. 🙂
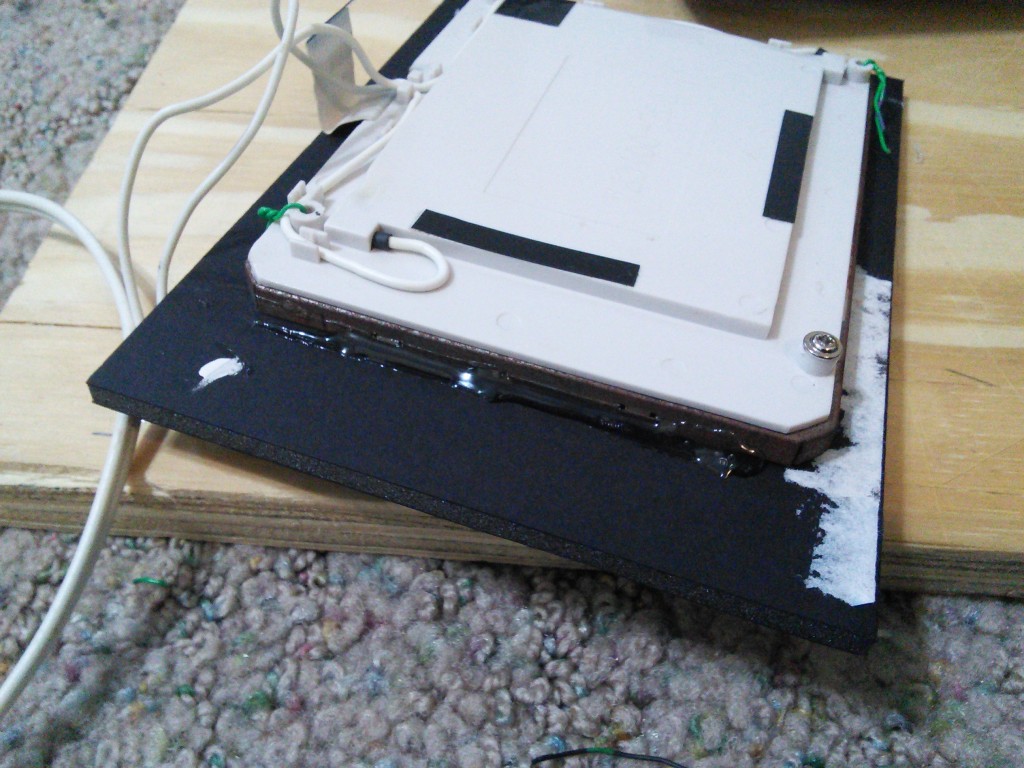 The display itself was then mounted to another piece of foam board, and the build continued.
I sort of guessed and eyeballed the box. It turned out pretty well though. (The white stuff all over the foam board is debris left over from when it was a display board for a high school speech on fireworks.)
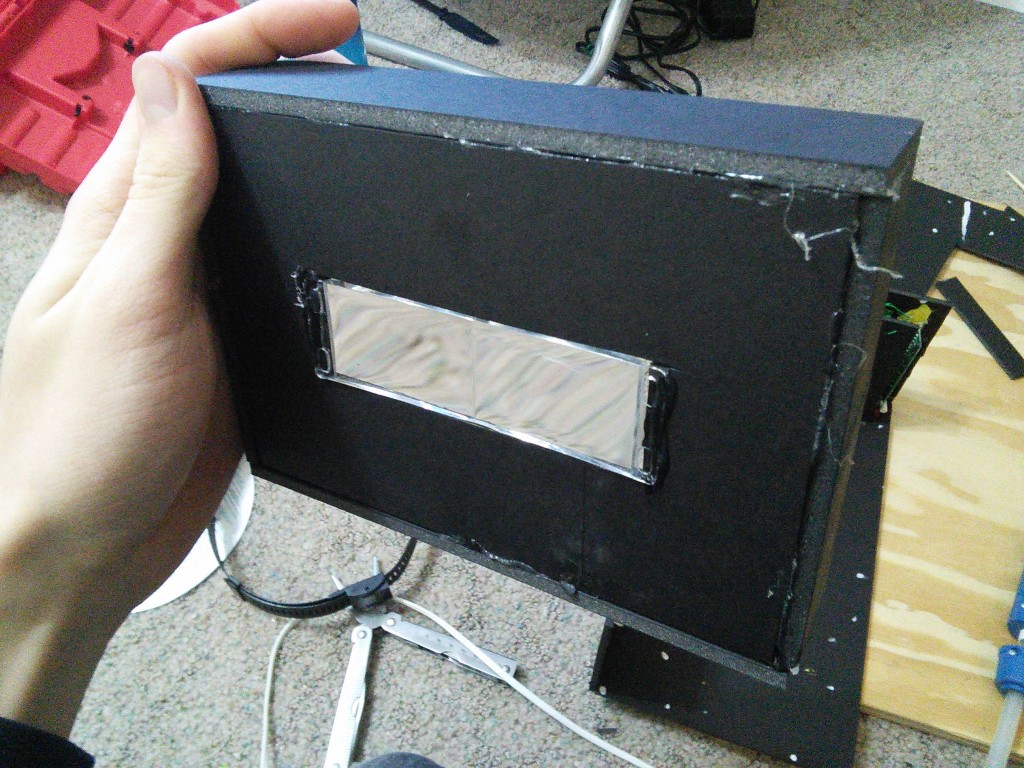
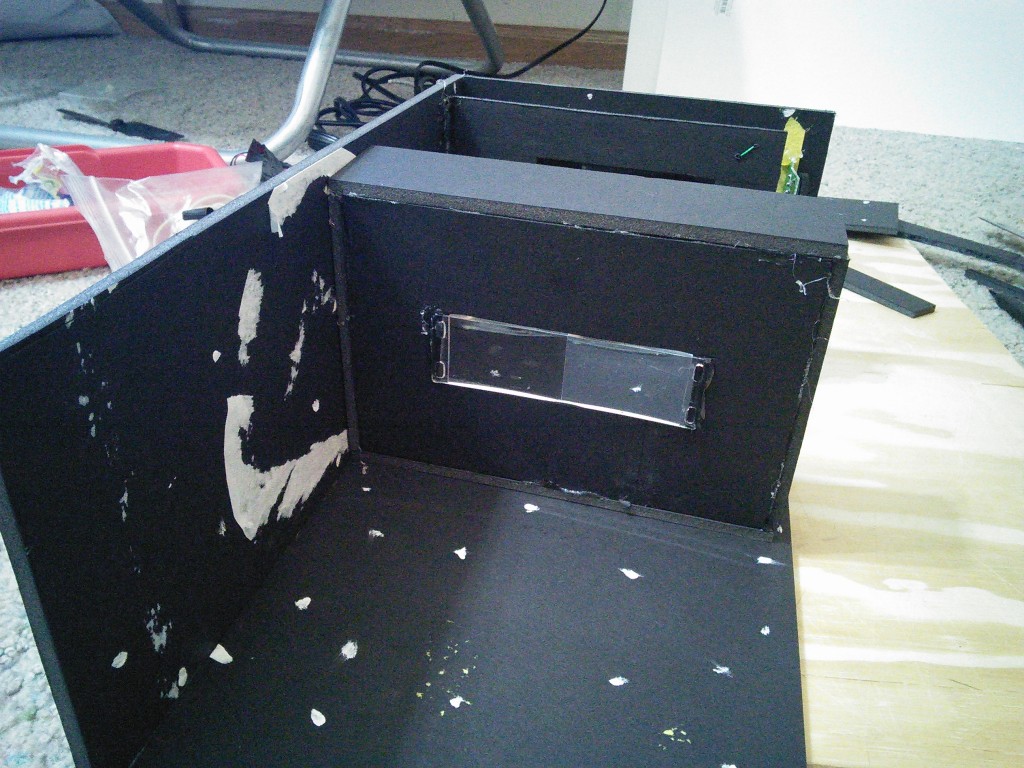
I mounted the lense in another foam board box. The lense is acrylic, so it sticks well to hot glue. A bit too well in fact. WARNING: If you try this, don’t drip hot glue on the lense. You’ll never get it off.
The lense frame is just a bit smaller than the rest of the box so that it can slide back and forth.
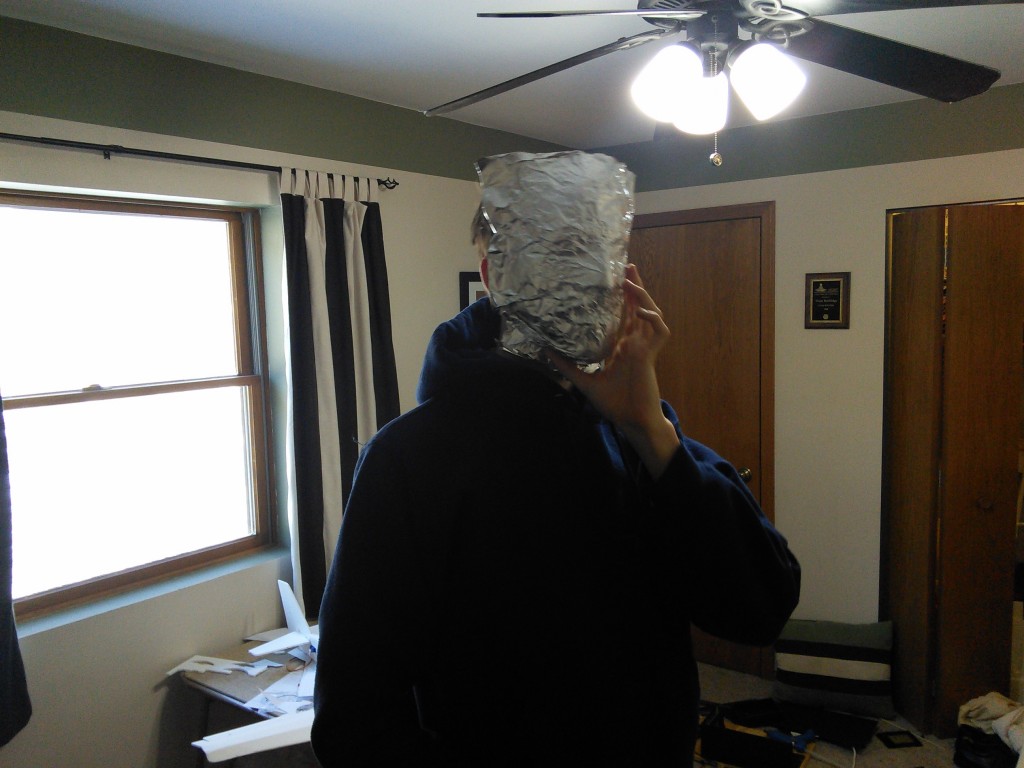
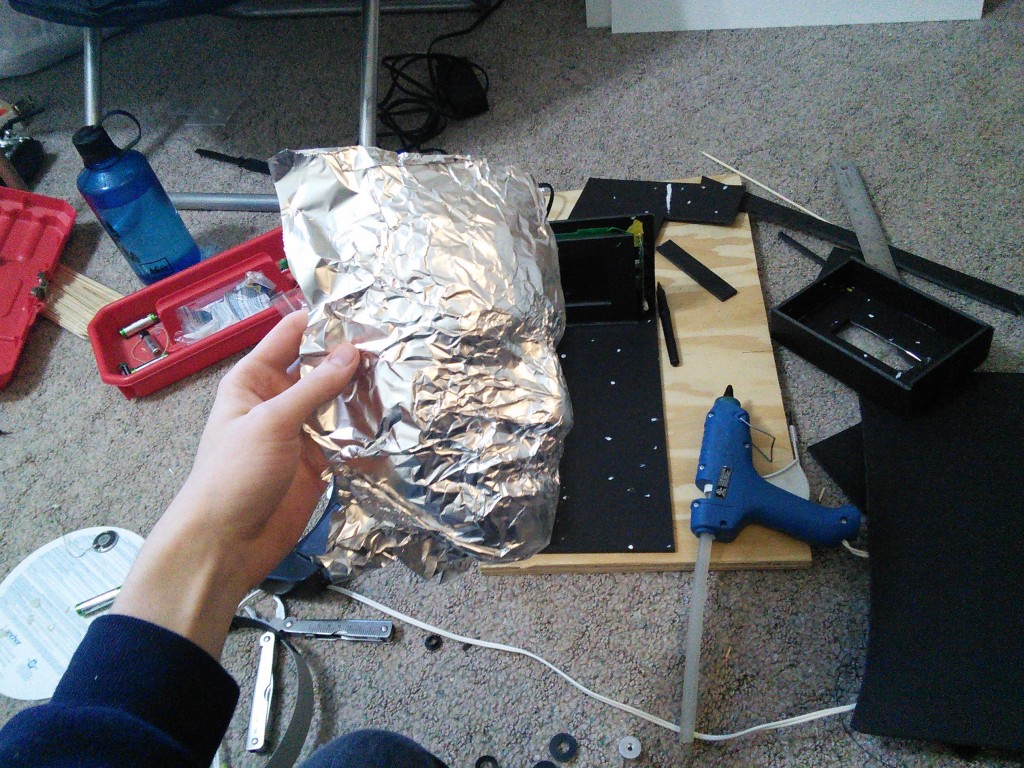
I then mashed some aluminum foil onto my face.
If only Michelangelo had known about this…
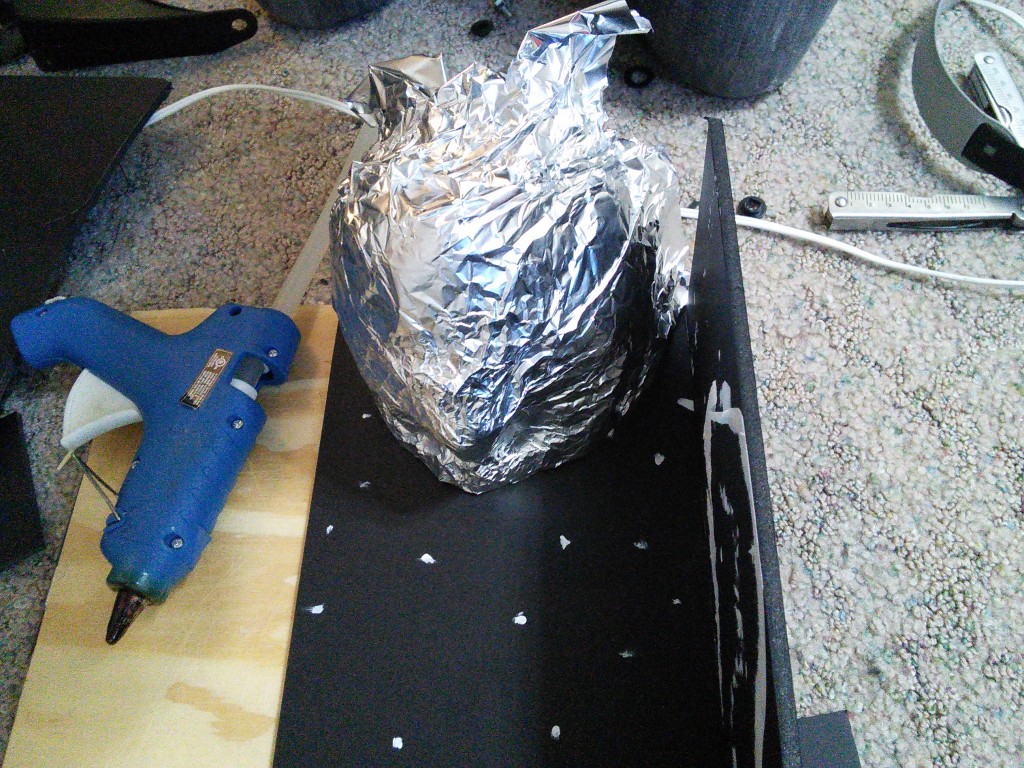
Then I was able to turn it upside down and trace a good head outline.
There it is all traced and cut on both the top and the bottom.
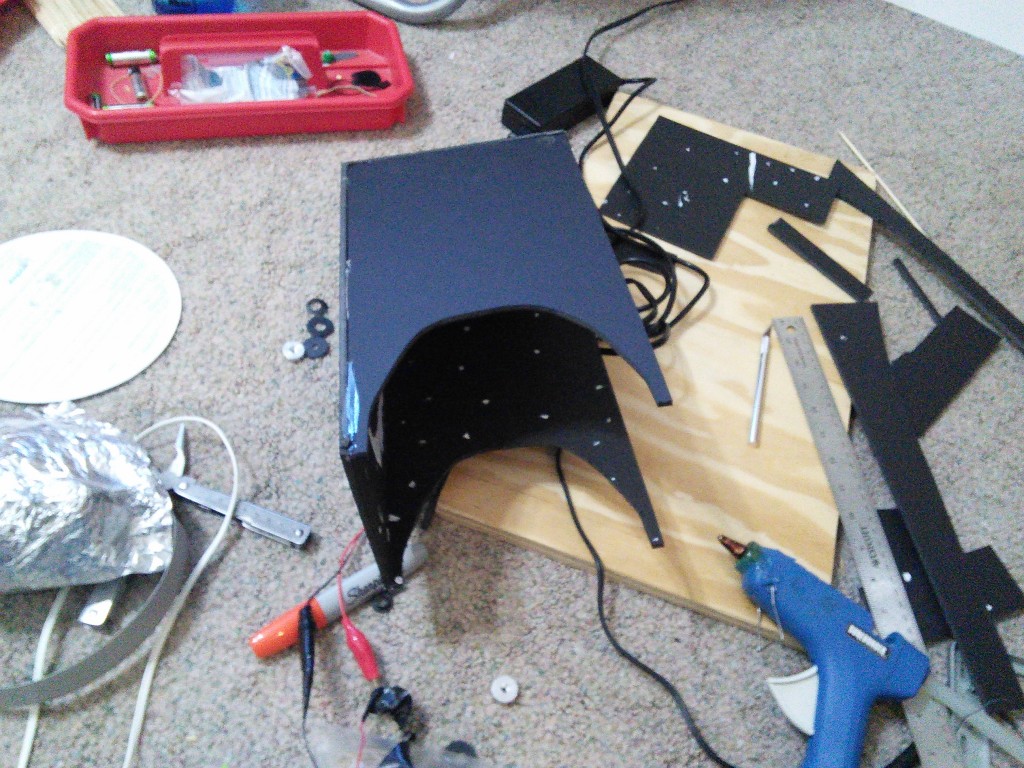
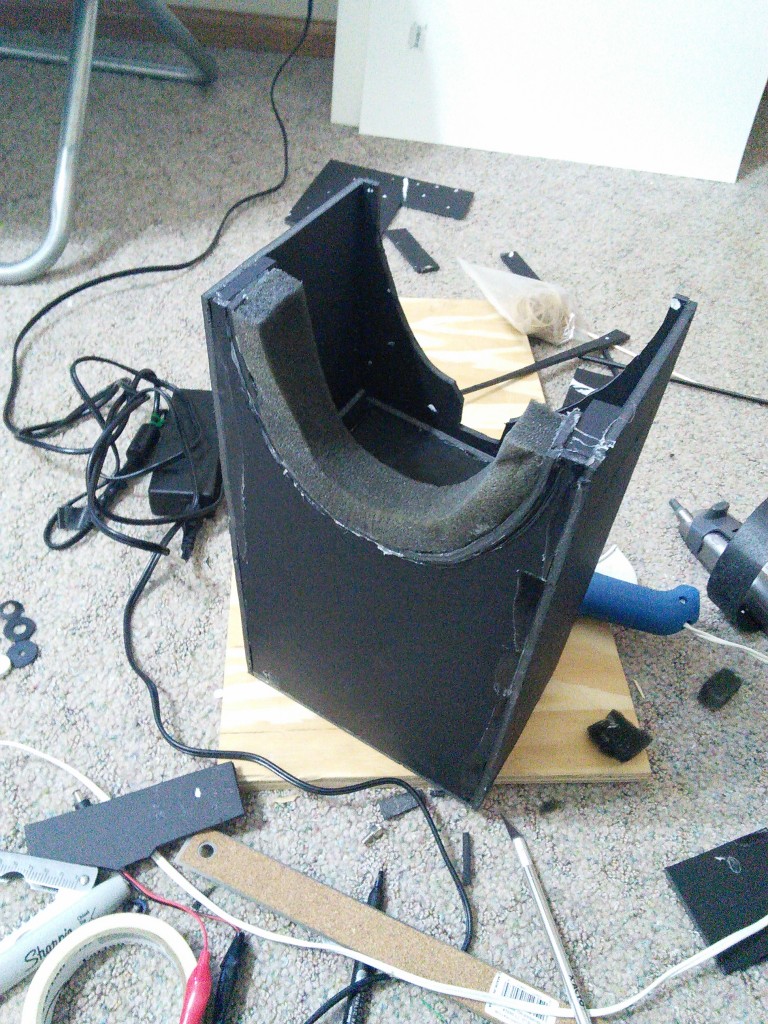
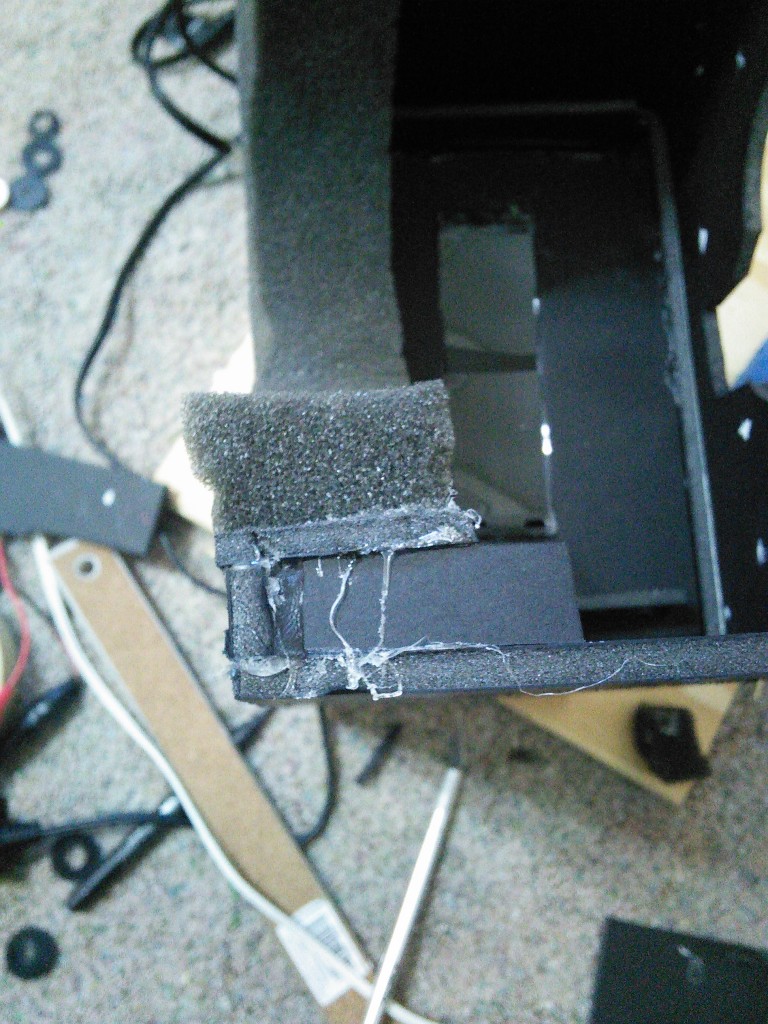
I forgot to take pictures of a couple things. But you can see how I added a layer of curved foam board, and glued some foam rubber onto it. (Pro tip: Removing the paper on the inside of a curve of foam board helps it bend really easy.)
Again, you can see the foam board, and then the foam rubber.
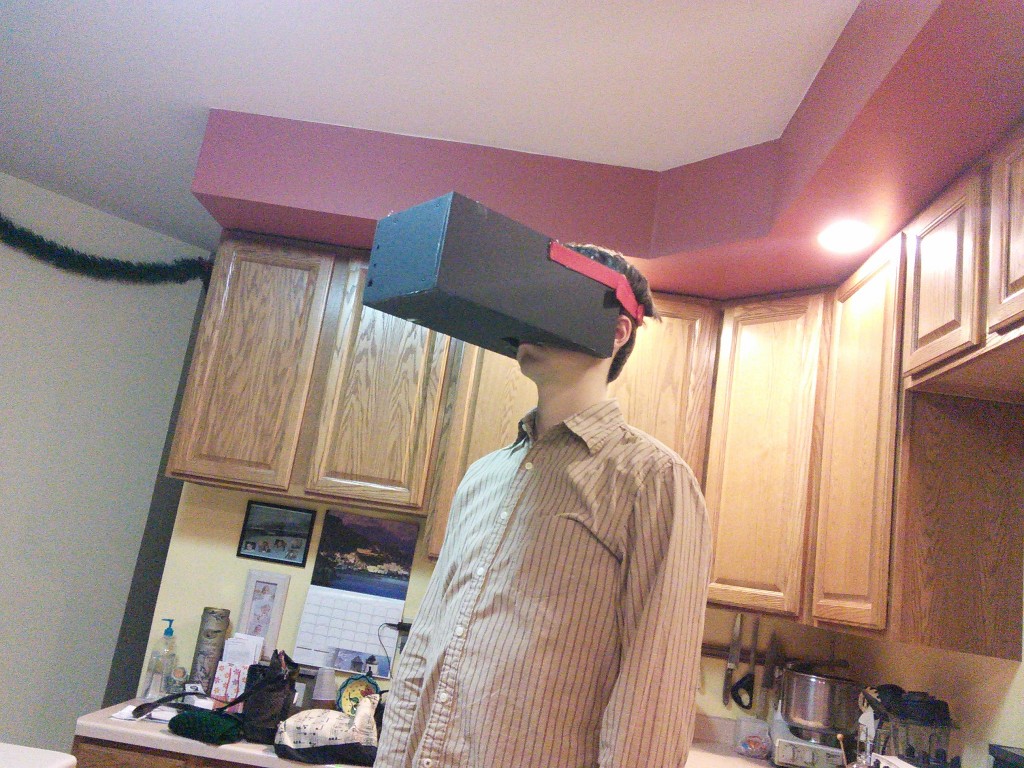
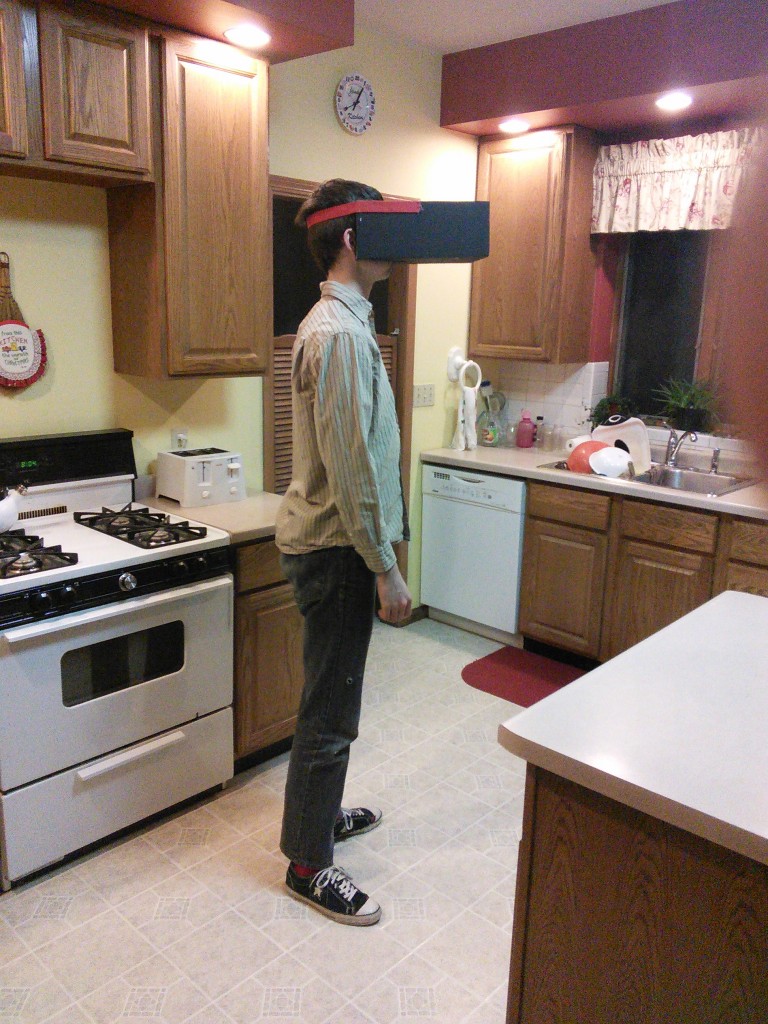
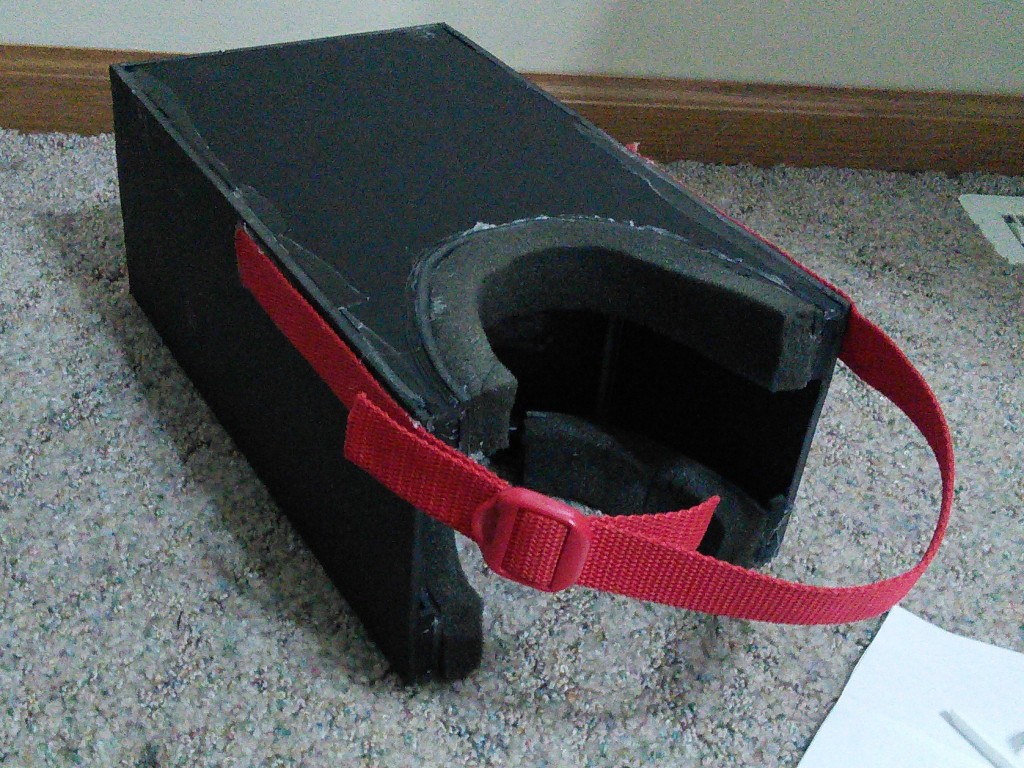
I then glued some flat strap to it so that it would be wearable. And thus I stand… in all nerd glory.
It really does work though! I was able to hook the display up to a DVD player to test, and it’s really pretty decent. The optics really help you focus with minimal stress, and I think they sort of help bring your eyes together without having to go cross-eyed. Now to buy a camera, and get flying! 😀
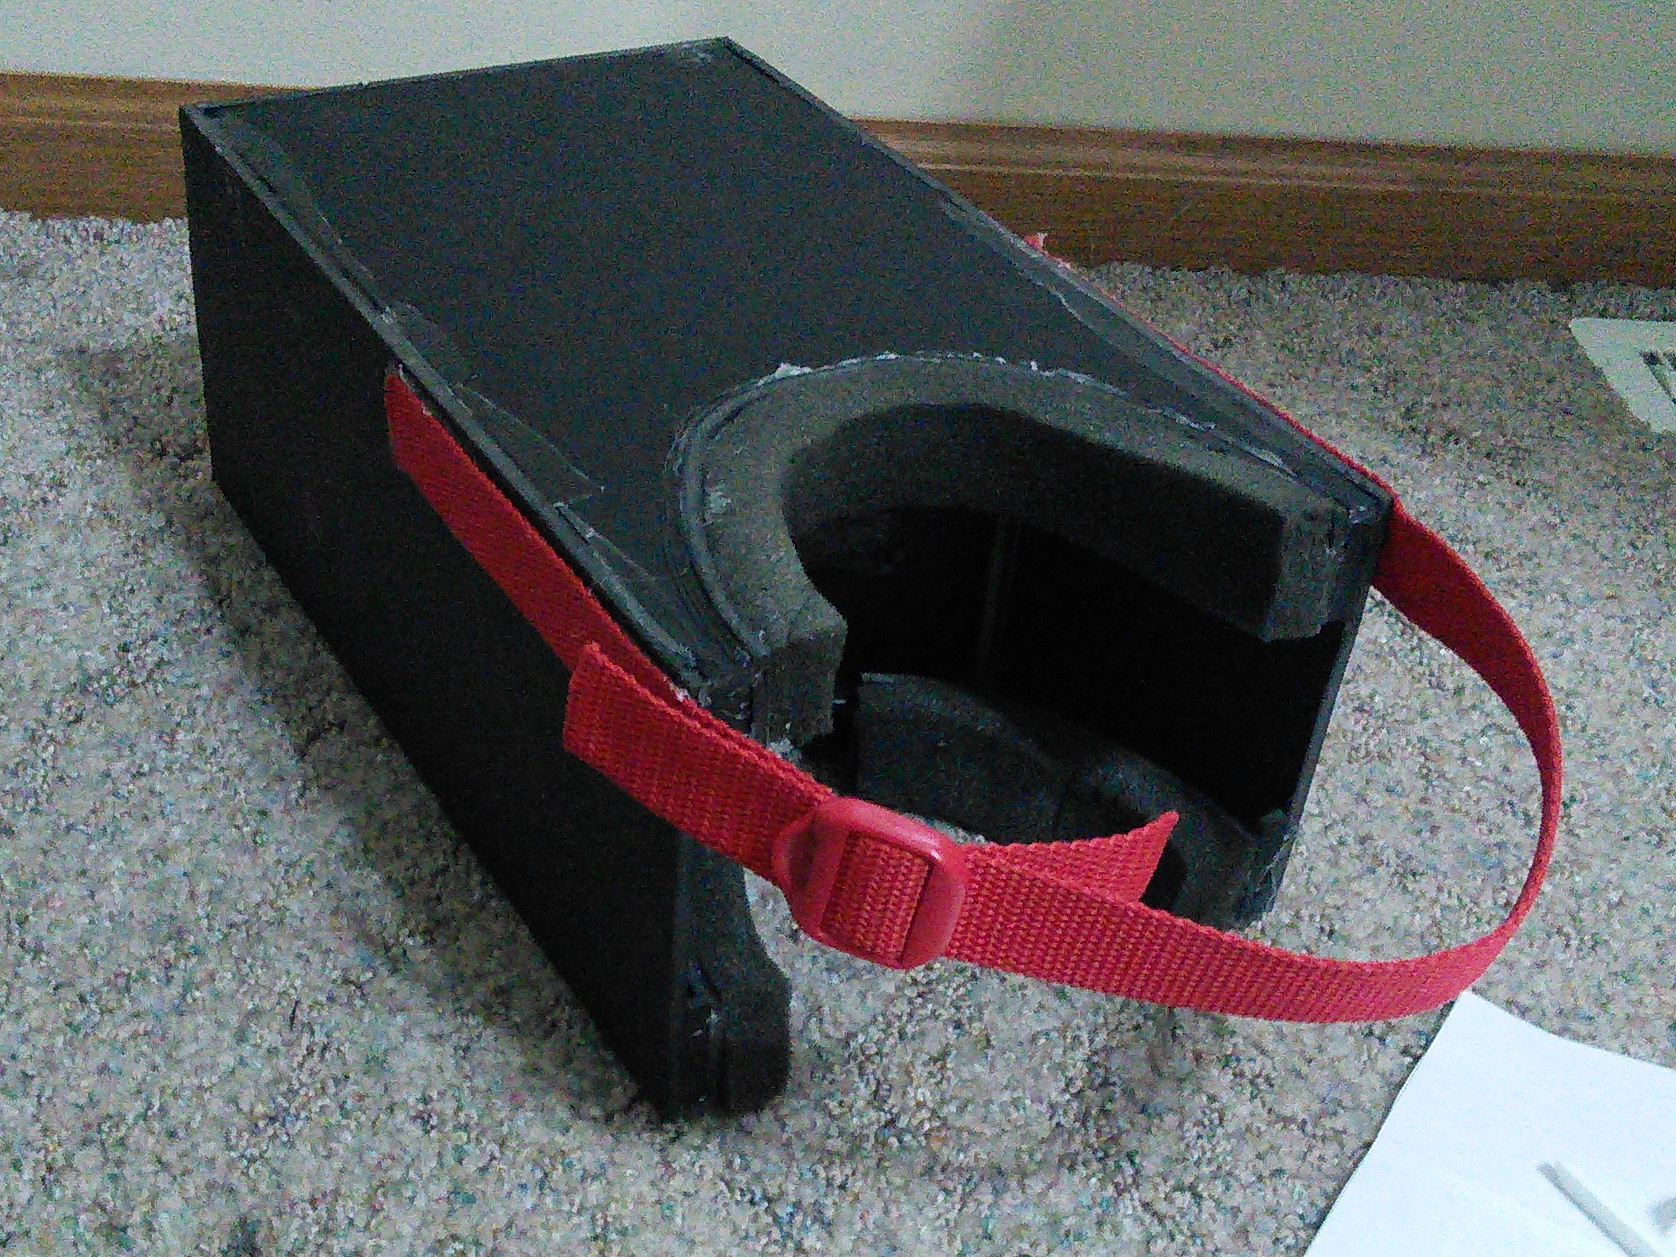
nice built !