Admittedly, the Pinball project has received a minimal amount of attention from me recently, and even less coverage on this blog. But nevertheless, I feel that I at least owe you all an update to it’s current status. In a nutshell, it’s looking great!
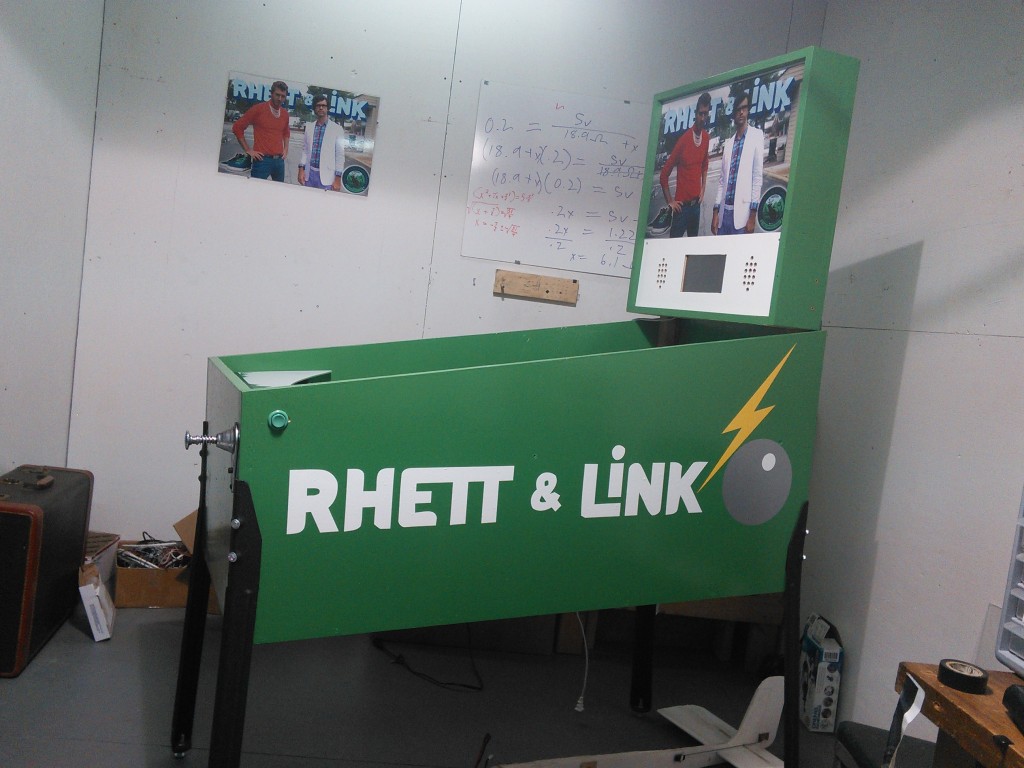
I ordered from darkhorseprinting.com again, this time getting several contour-cut vinyl pieces, and quite a bit of backlit vinyl. I finally broke down and replaced the vinyl on the backglass with backlit instead of 3m Controltac. It lights up so much better now. I also installed several small pieces of backlit vinyl in the playfield.
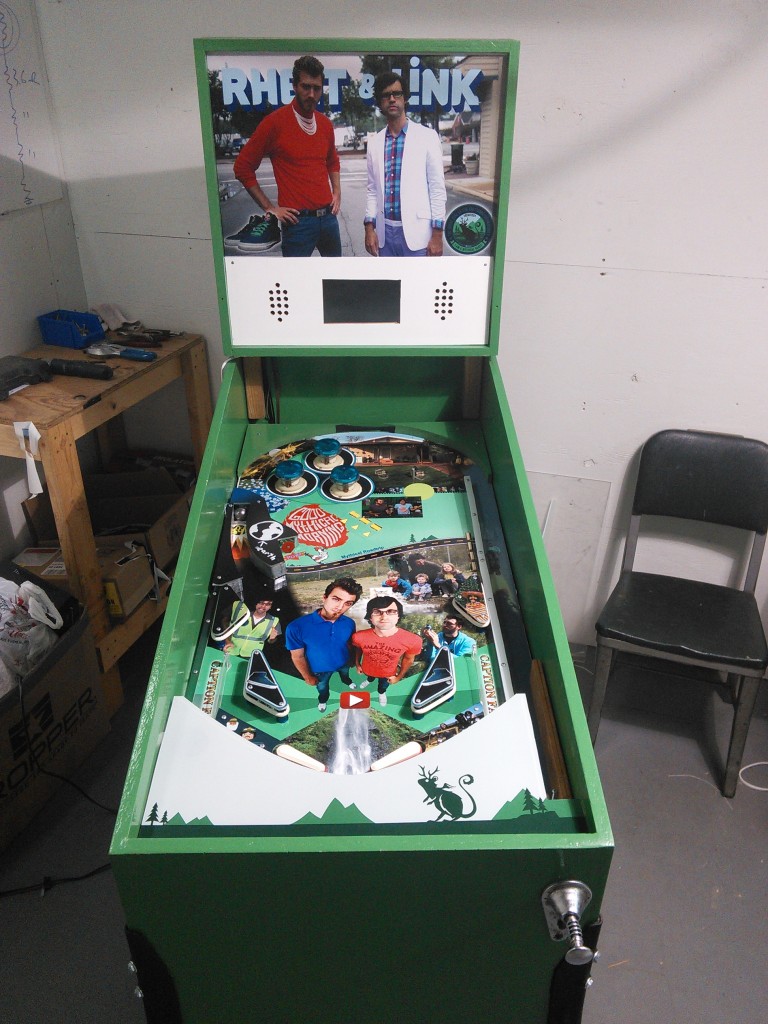
So, there’s backlit vinyl on the slingshots, the flipper guides, the viral boom lane area thingy, the shooter lane rail, and most impressively, on the apron. If anyone would happen to notice, the general idea for the apron design came from the footer of the Rhett & Link Kommunity page. I obviously re-drew it all, but the general ideas are the same.
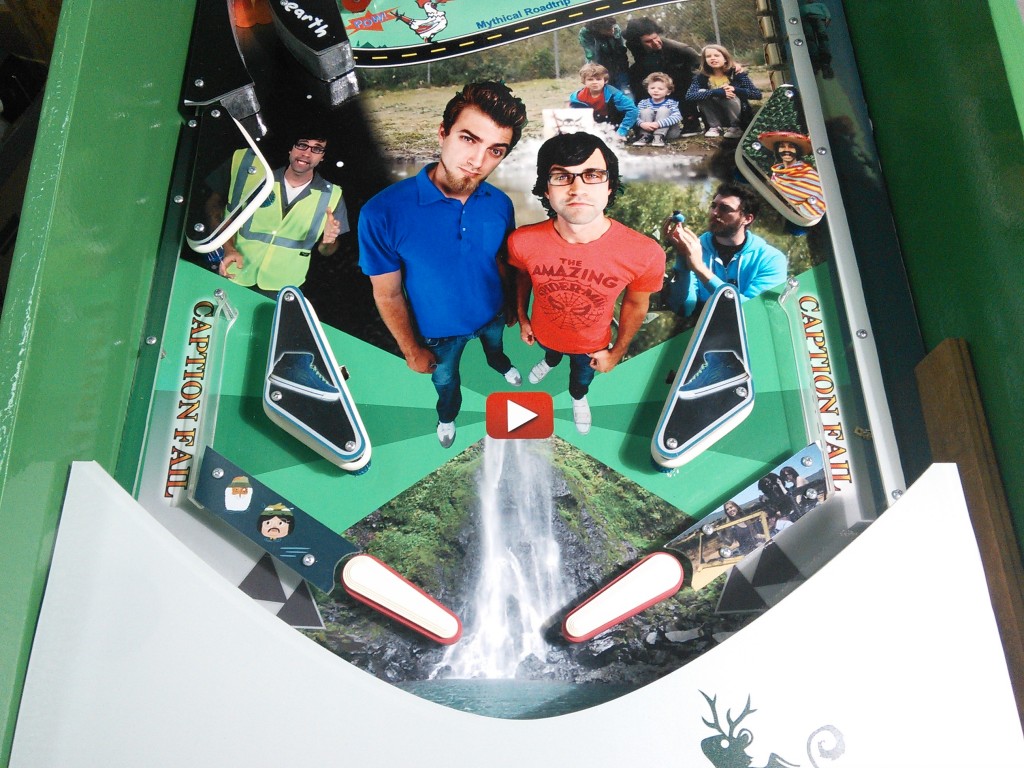
Here is the lower portion of the playfield. For anyone who’s interested in the detail. 🙂
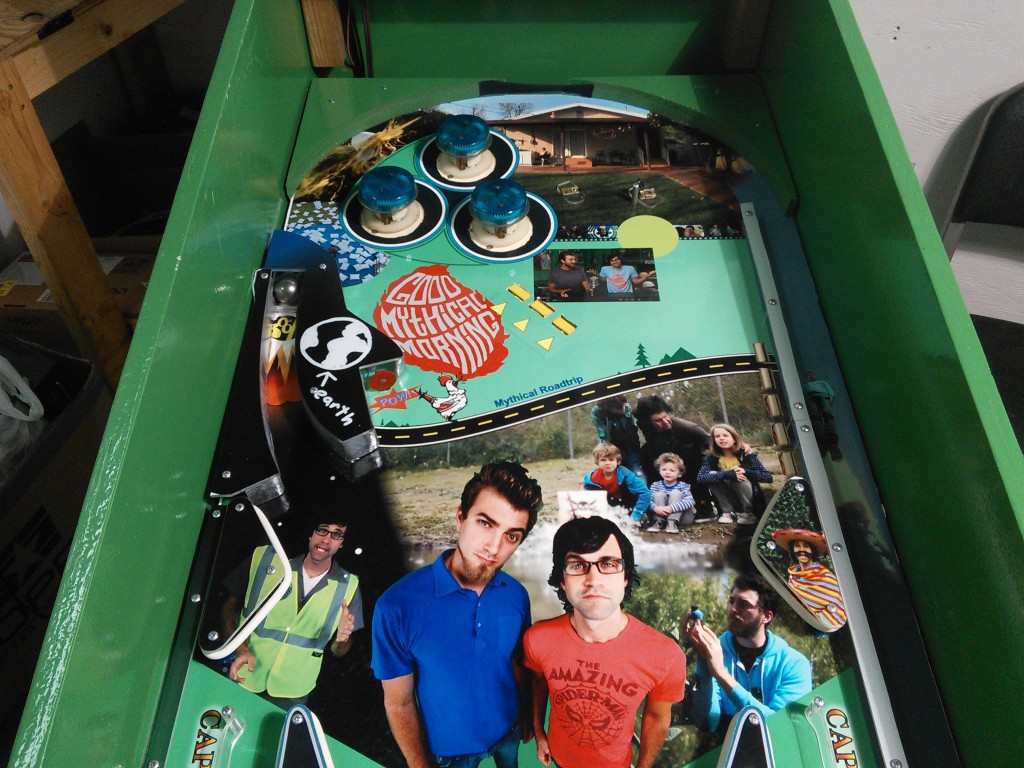
As to the technical status of the machine, here are the biggest points of interest currently:
- I discovered why my LEDs were so dim. Perhaps a blog post on that whole topic sometime. But suffice it to say my solution involved replacing every transistor on my LED circuits. Which… is a very trying experience. (On of the reasons I have been cowardly working on other projects recently.)
- The Arduino & Raspberry Pi logic system is working out well, it just needs more work from me implementing it.
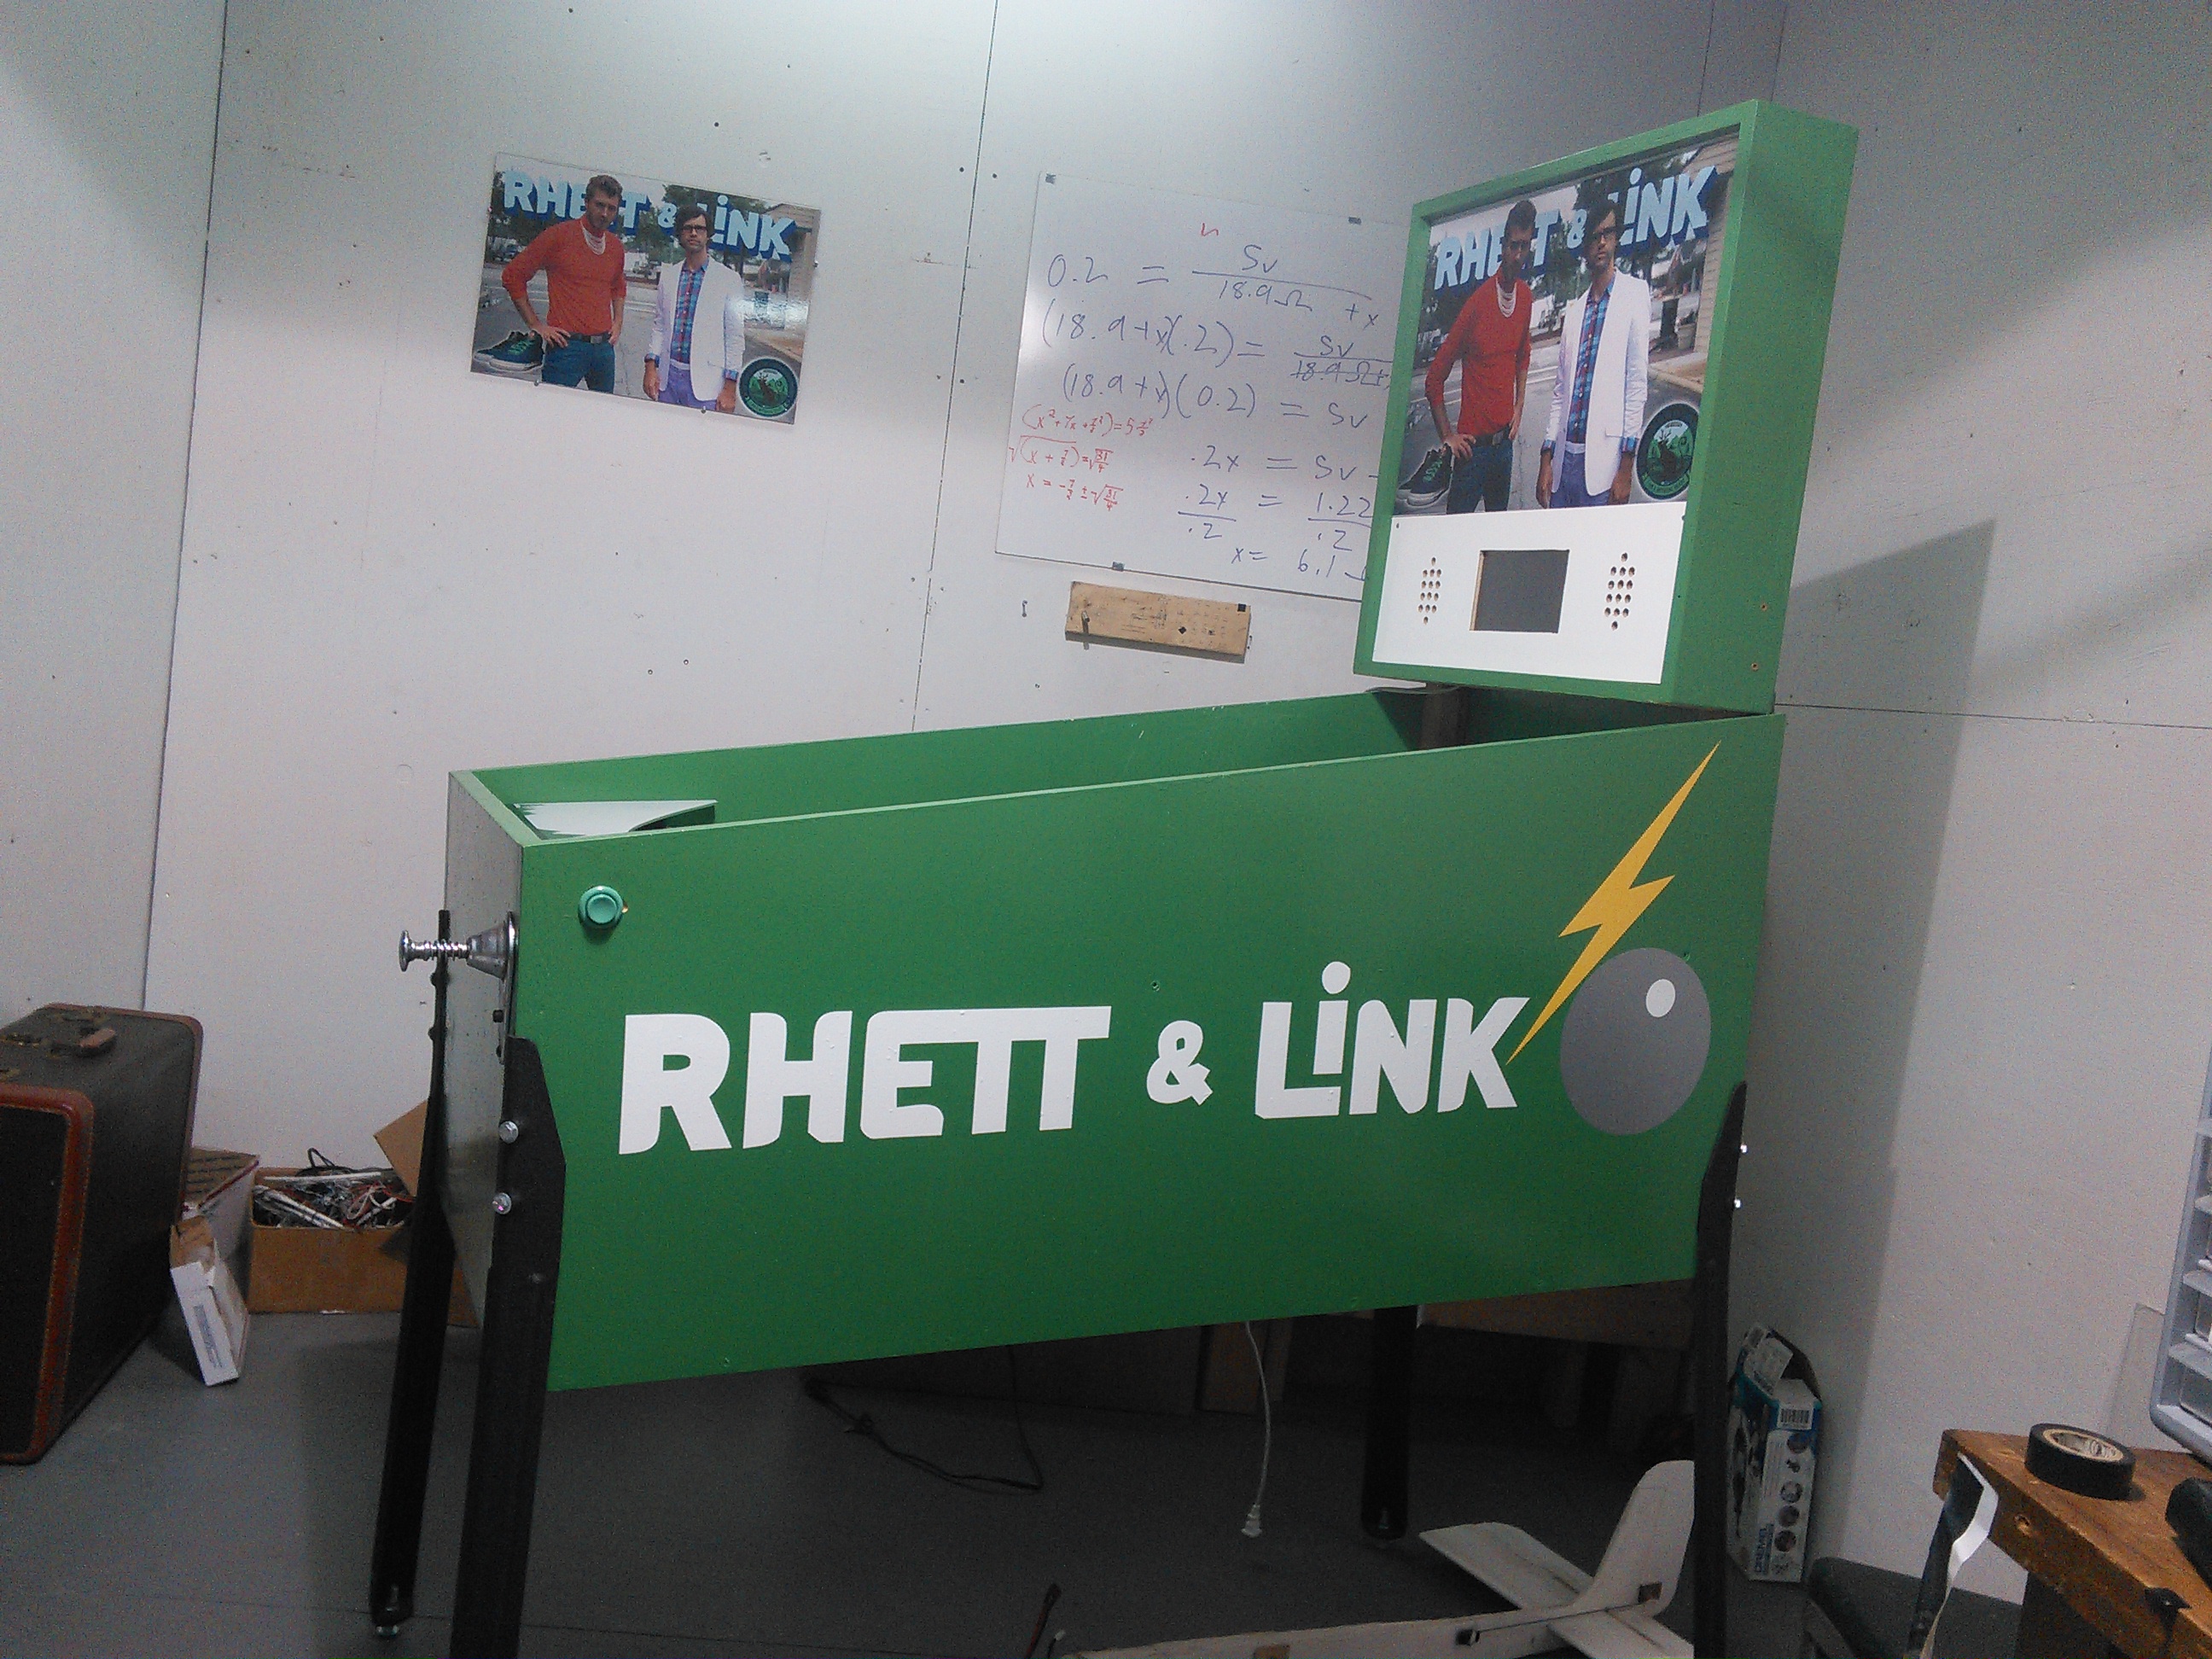
- The backbox is basically complete. It even uses an awesome iMac style magnet system to hold the backglass in place.
- It basically just needs a bunch of programming.
- … and glass. It will eventually need playfield glass.
All that to say, the pinball project is not forgotten. Inspiration may be rather difficult to muster towards the end of a multi-year project like this, but I still have every intention of finishing it.
The whole project is darn awesome, I simply need to keep reminding myself that. 🙂
which card you used for solenoids?
It was a DIY circuit driven by an Arduino. See some of the other posts. Specifically this one which explains a bit of the design.
Beautiful project, can I ask 2 questions? Please 🙂
1. Did you use original pinbal replacements? (Drop Target, Bumpers, Flippers, etc.)
2. What driver/card did you used to make Drop Targets to go up and down?
Hey, Oscar. 🙂
1. I bought used pinball parts from eBay. Generally someone had a machine that wasn’t worth restoring, so they parted it out. Therefore I have parts from multiple machines. Most were Bally branded parts.
2. The same MOSFET circuit that drives the bumpers also was used for the Drop Targets. Generally, a drop target has a switch for every target, and then one solenoid that pushes them all back up. In other posts I discuss how I used an IO Expander to interface with microcontrollers such as the Arduino. So my drop target had three inputs and one output. The software would wait for all three to be turned on, and then reset the drop target by firing the solenoid.